ShoesandFitness.com is supported by our readers. We may earn a commission when you purchase through links on this page. Our content is checked for factual accuracy by our editorial team before being published.
Air Force Ones are one of Nike’s most popular shoe designs and were designed by Bruce Kilgore as a basketball sneaker, the first to make use of Nike Air technology.
The shoe has historically been offered in various styles from low to high tops, as well as mid, superlow and super high meaning there is a style of sneaker to suit almost anyone who wants the Air Force One aesthetic in varying forms.
While the design is almost 40 years old now, these sneakers remain incredibly popular as a stylish casual shoe to wear for almost any occasion, and they remain incredibly popular among sneakerheads who appreciate the dramatic silhouette of these sneakers, as well as the various intricate lines and elements of the design.
While owning a pair of Air Force Ones almost certainly guarantees you a stylish look, there are some things that can make your sneakers stand out even more, and one of these is how the sneaker is laced.
Sneakers can be laced in many different styles and Air Force Ones are no different. This can make choosing a particular style of lacing difficult, as choosing the right type of lacing can have a surprising effect on the overall look of a sneaker, as well as its fit and comfort.
In this guide, we’re going to look at the most popular style of lacing and how to tie it so you can make sure you get the perfect fit and finish for your sneakers, regardless of the particular style of Air Force One you own.
But without further introduction, let’s look at how to set it up.

Step By Step Guide – How To Tie Air Force Ones
To keep things simple we’re going to go step by step so you can easily follow and lace your sneakers easily and quickly.
Step 1 – Started From The Bottom… (Now We’re Here!)
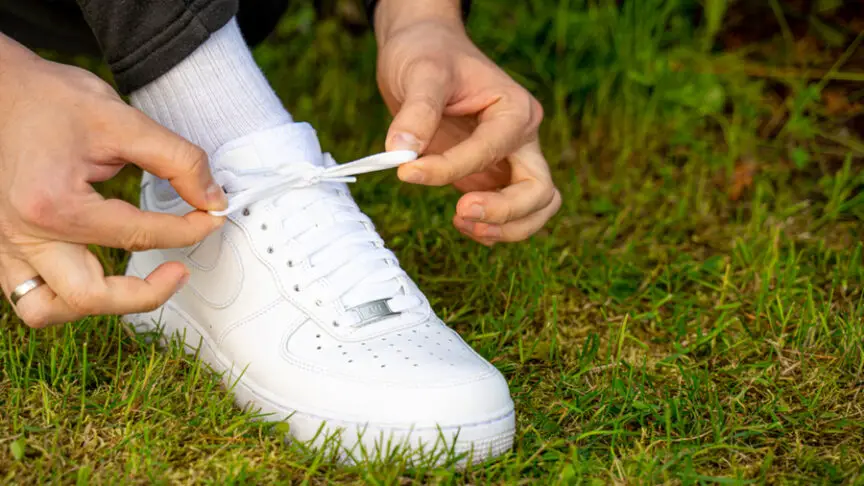
For the main and most popular style of lacing, we’re going to look at the standard over-under method as this is a classic look that really suits the sporty roots of these sneakers.
To begin, you need to thread the lace through the bottom-most eyelets at the base of the tongue of the sneaker, threading the lace down into the loops from above on each side.
Pull the laces out and ensure they are an even length on both sides before progressing to the next step of the process, as this will save you a lot of hassle later on.
Step 2 – Cross Over The Laces And Begin Working Upwards
Now that the laces are in place and they are evenly pulled through, it’s time to start working them up through the other eyelets of the shoe.
Consistency is key here. Take the end of your lace from one of the sides, and draw it across to the next eyelet up, inserting it DOWN into the eyelet so that the lace enters from the top.
Repeat this process with the other end of the lace, working sequentially up to the next eyelet diagonally across and always inserting the lace down into the eyelet to maintain the correct appearance. This will make the laces look much neater and more finished than an uneven or inconsistent lacing technique.
Step 3 – Continue Working Upwards
Repeat this process with the laces all the way up the shoe, ensuring that the laces remain flat and untwisted as this can cause the laces to look untidy and can even affect the comfort and longevity of the laces and the sneakers.
Don’t pull the laces too tight yet.
When you come to the part of the tongue that has the lace eyelet, you can decide to insert the laces through this or not depending on your preference. Using the lace loop on the tongue can keep your laces tidier and prevent them from loosening as much, but some people prefer to ignore this and don’t like the look of it.
This is mostly down to your preference but if you do use it, insert the laces through it but don’t change the core technique at the following eyelet.
Step 4 – Complete The Lacing
Now you’ve passed the lace tab on the tongue, finish off by lacing to the top eyelet, again inserting in from the top and pulling across.
Some people may prefer to leave the top two lace eyelets unused to leave the tongue more exposed and create a more relaxed look, but again this is a personal preference.
Whichever method you choose, check down the shoe and ensure that the laces are flat throughout and that there is an even amount of excess at the end of each lace so you can tie your shoes properly when you need to.
Some sneakerheads like to leave these untied, and if so you can either tuck the laces inside the shoe or tie them neatly behind the tongue.
If you prefer however you can tie them as normal over the tongue regardless of whether you used the final two eyelets or not.
I’ve also included a couple of helpful YouTube videos on How To Tie Air Force Ones…
You can find some Nike Air Force One Alternatives here.
Step 5 – Test The Fit
Try the shoe on and test the comfort and fit of the lacing system you’ve used. Quite often, fresh lacing needs to be broken in a little bit and you may need to loosen things off to ensure you get a comfortable fit.
If your shoes are too tight, pull some excess back down the laces until about halfway down the laces, as this should create enough space for you to try on the shoe.
If the toe box is too tight you can continue to loosen the laces down to the bottoms, however, take care to ensure the laces remain flat and untwisted when you do this to maintain the aesthetic and comfort of your sneakers once you tighten them back up.
Why not take a look at my top picks for Vans Alternatives